My Magnolia Home Inspired Kitchen Hutch

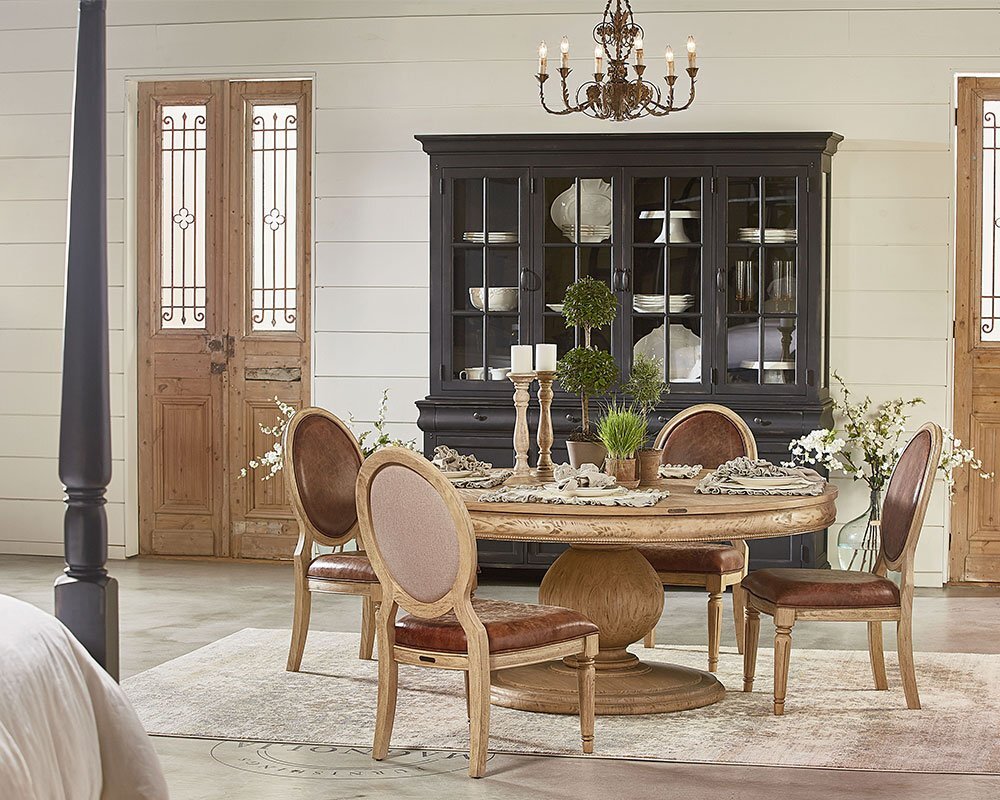
When I was picking our furniture for this home, I was on a pretty tight budget - only the most necessary purchases first. One of the rooms I was most excited about was our dining area. One of the first few purchases I made for the house were our reclaimed wood table and Scandinavian/Farmhouse inspired chairs (click here to shop our dining room). I was starry-eyed over this piece from Magnolia Home, but even though I knew it would look PERFECT in the room, it just wasn’t something I was willing to fork up the money for. I knew the room was going to feel empty without a buffet or hutch (plus we needed the storage a piece of furniture like that could offer) so I started looking for something that could work for a fraction of the budget.
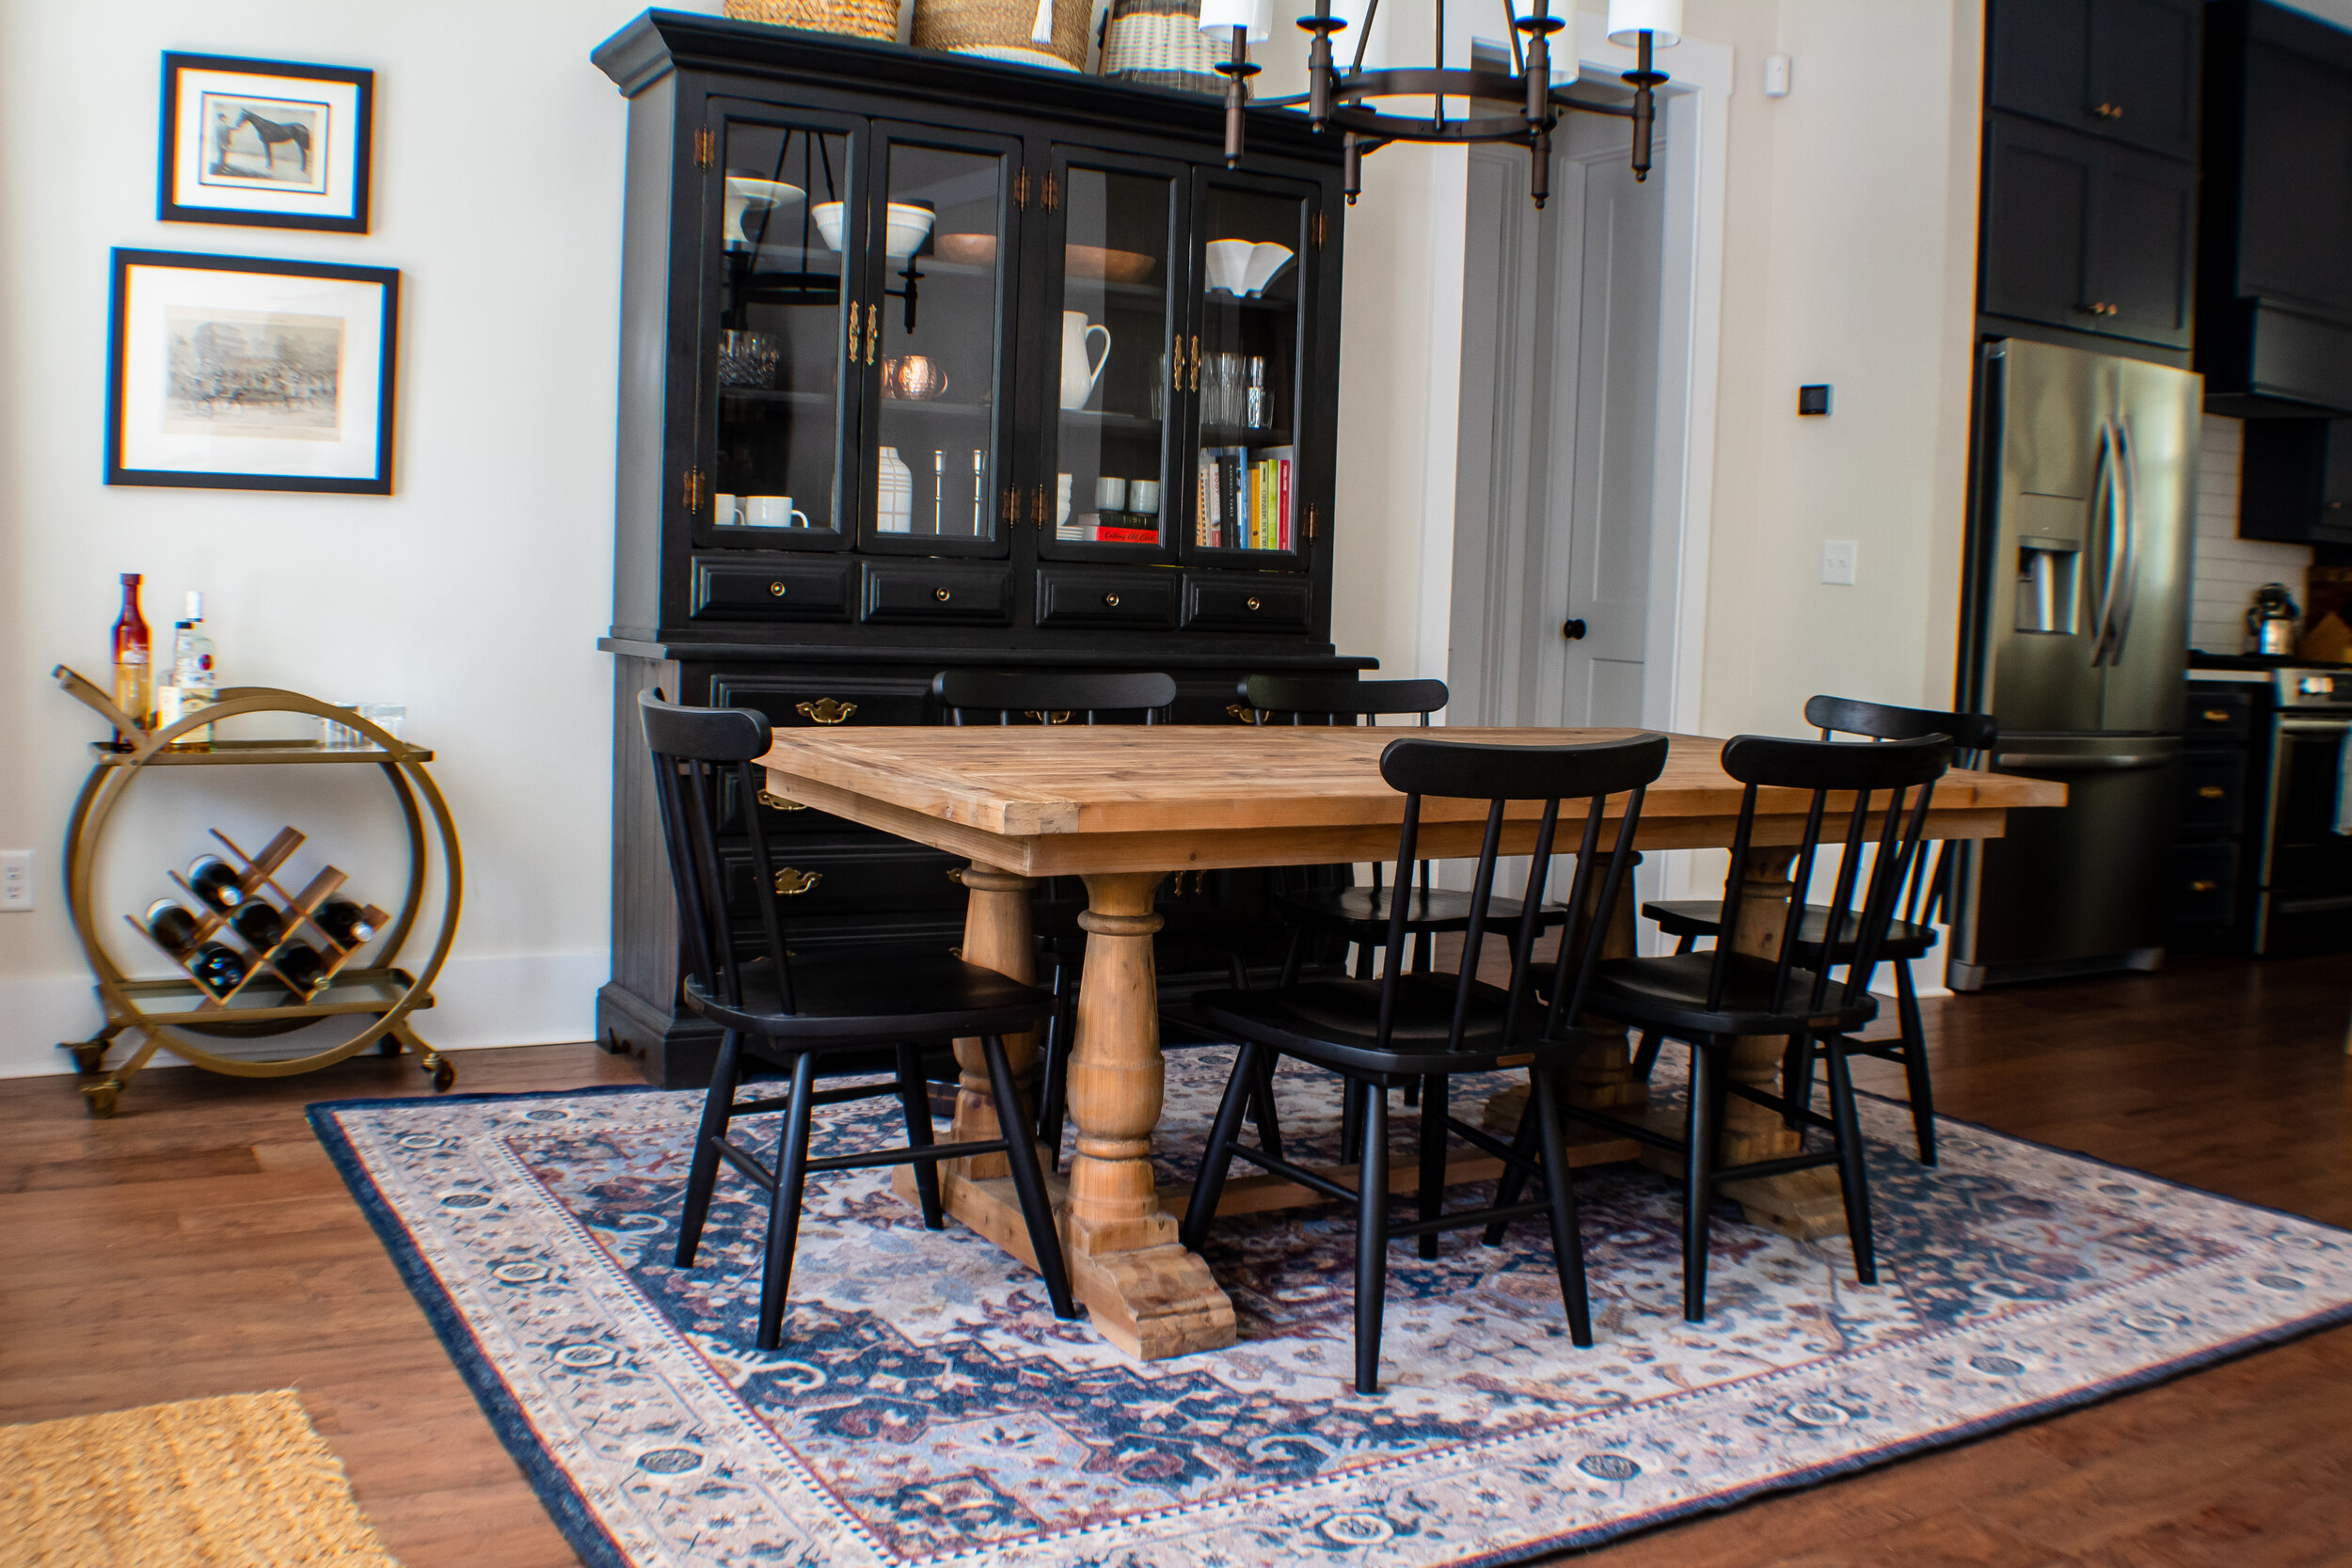
A friend of ours was selling her China Cabinet that they had in their home - it was a really cool antique solid wood hutch and I thought that with a coat or two of paint, it would at least make do until we had the budget to upgrade. For a little over $200 + supplies, it was way more do-able than the $2,500 Magnolia piece!

We started by taking everything apart - we pulled out every drawer, took off the doors, and removed all of the hardware. After doing tons of research, I decided to go the chalk paint route. I don’t like the “chalky” distressed look that usually comes from chalk painting but saw several people who had painted a clear polyurethane over the top to give a more modern and clean look that I liked that also wouldn’t chip.
We used our orbital sander lightly over all of the surfaces we were going to paint to give the paint something to stick to. Afterwards, we wiped everything down and let it dry completely before painting. I bought a sample size pot of the Annie Sloan Chalk Paint in Graphite, which is more gray than black but I knew it would darken when we put the polyurethane on. We ended up putting two coats of paint on and had plenty from the sample size pot.

We let the polyurethane cure for 2 or 3 days before re-reassembling everything. I eventually want to replace the hardware but just haven’t had it on the top of my to-do list.
Even though this hutch was meant to be temporary, I think it might end up being something that stays forever. It’s Damon’s favorite piece of furniture in the whole house!